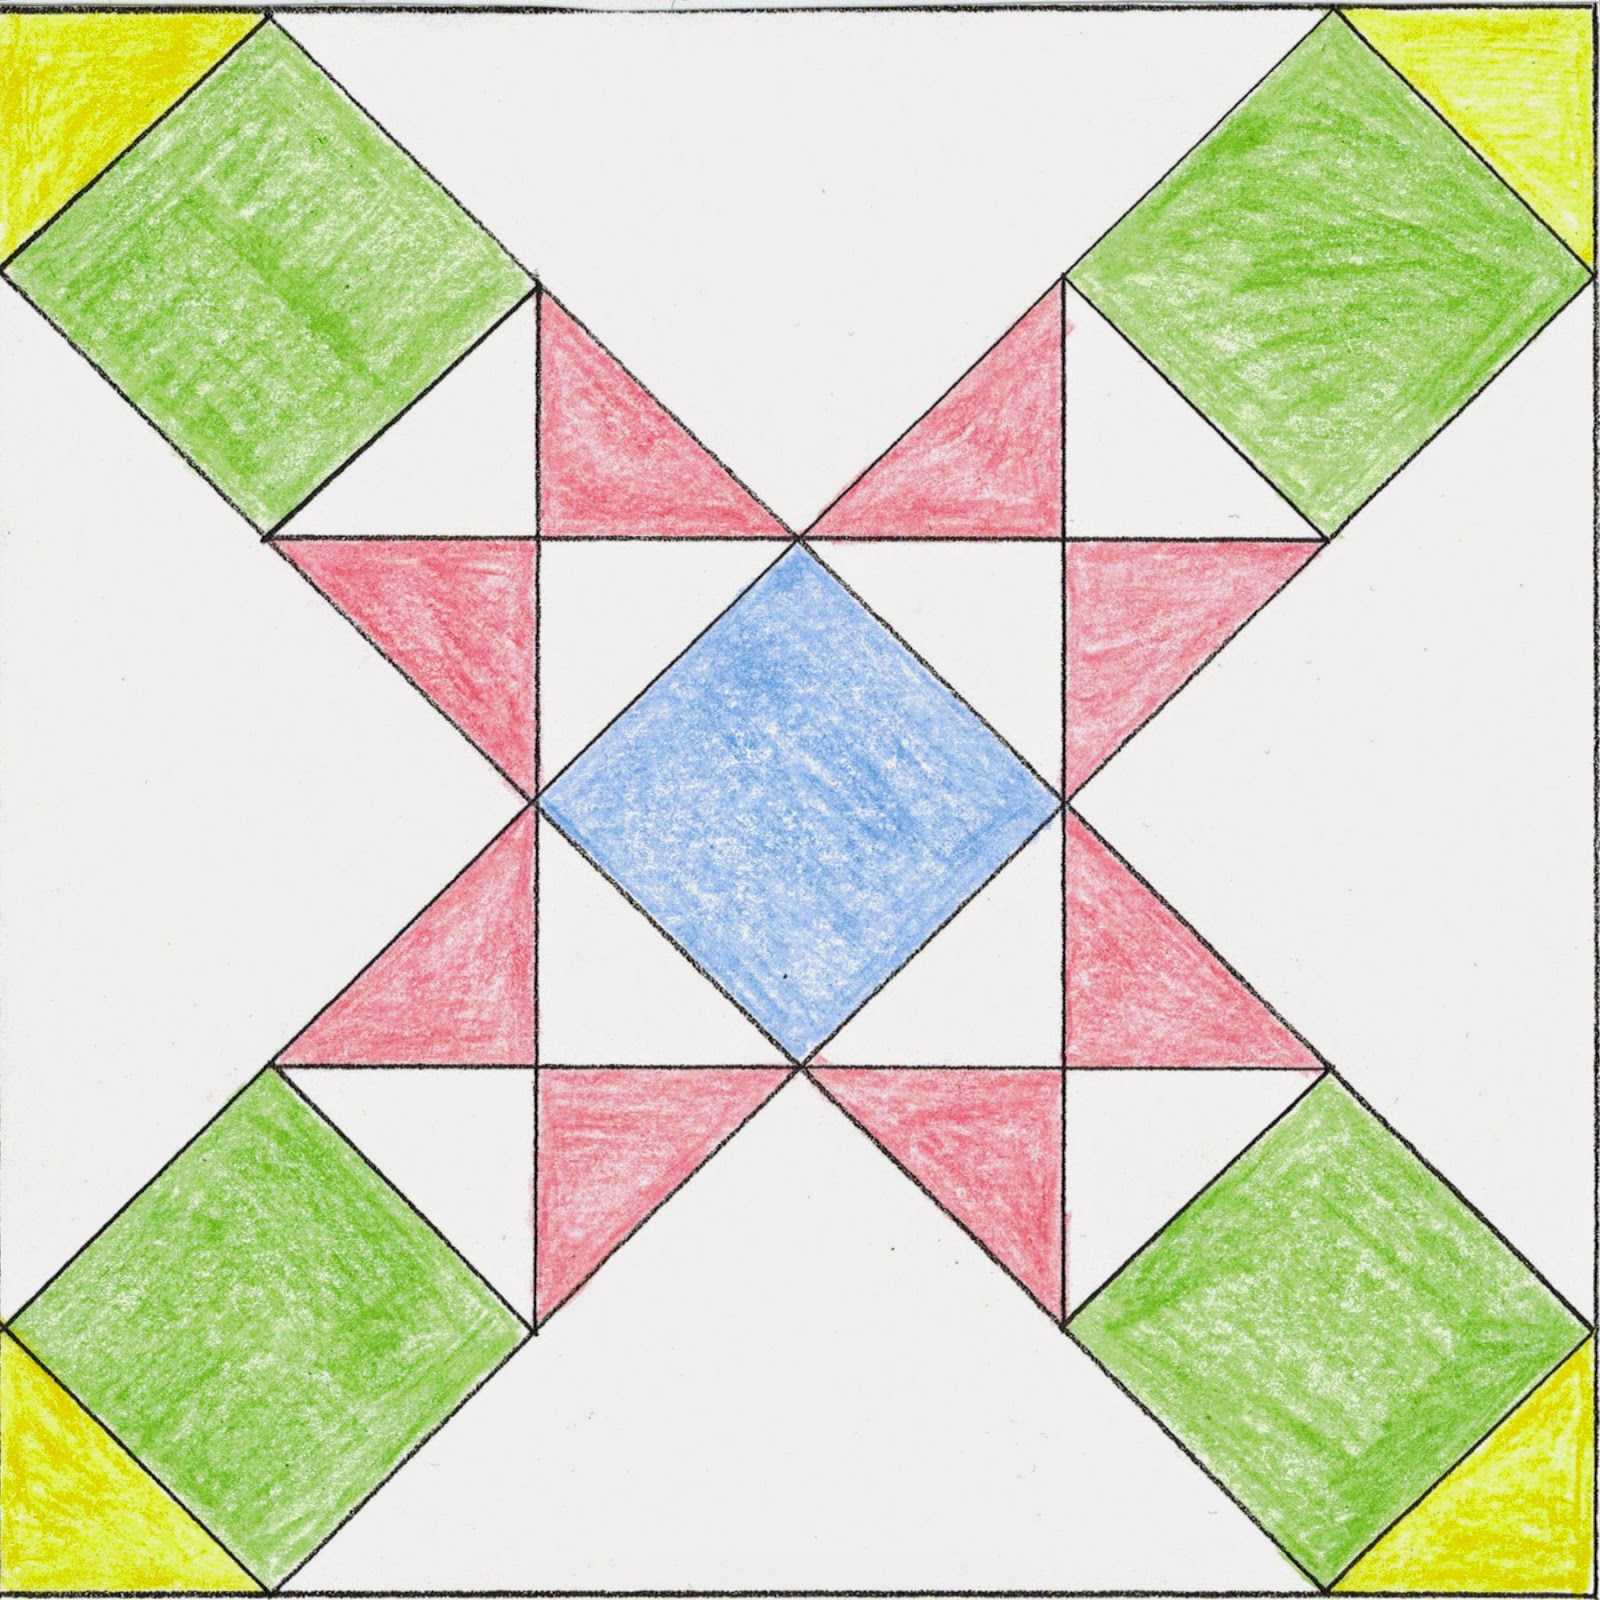
- Block 108, Windmill
- Block 17, Cats & Mice
- Block 81, Snowball
Continue reading for detailed instructions.
Block 108, Windmill
I have created a foundation paper piecing template you can download here for this block. This one will go together quickly.
 |
| Farmer's Wife - Block 108 - Windmill |
REMINDER: Please be sure to print the templates at 100% scale, not "Shrink to Fit", to be sure you get them to the correct size for 6 inch blocks.
Block 81, Snowball
This block is made up of nine 2 inch blocks (finished), with 5 of them solid and the four corners pieced using the half-square triangle method we have used previously.
Start by cutting the following squares:
- one 2 1/2 inch square for the center square (green shown in the picture)
- four 2 1/2 inch squares for the outer squares (blue).
- four 3 inch squares for the half-square triangle blocks, two from each color (blue and green).
 |
| Farmer's Wife - Block 81 - Snowball |
Make sure you are keeping your seam allowances a scant 1/4 inch. It can be helpful to measure after sewing each seam to be sure your finished block will measure properly. When sewing this many blocks together, even one seam that is too fat can cause the finished block to be too small. If more than one seam is off, then the issue becomes magnified. Here's a great place to learn more about "scant 1/4 inch".
Block 17, Cats & Mice
This block is a bit more challenging. It would be tempting to piece it, starting with the four hourglass blocks, five squares, and the variety of triangles; however, the challenge in that situation is making sure that the final block ends up being a 6 inch block. Since the blocks are set on the diagonal, the measurements for these blocks is odd. As such, the instructions I'm sharing here call for a combination of efficient piecing and paper piecing. I start with the hourglass blocks, using the tutorial we've used in previous weeks, then move that over to paper piecing.
 |
| Farmer's Wife - Block 17 - Cat & Mice |
Make four hourglass blocks from the two fabrics you'll use (red and white in the image above) following the tutorial here. Start with two 3 1/2 inch squares of white fabric and two 3 1/2 inch squares of red fabric. They will be larger than you need, but that's preferred and you can cut off the extra once the paper piecing is done.
Once you have the four blocks made, these are the first pieces to be placed on the foundation templates. (Remember the note above about printing the templates at 100% scale.) Be sure the hourglass blocks are positioned correctly, with the colors oriented to your intention, the center positioned, and the "X" seams lined up. To do this, I poke a needle through the center of the hourglass block and the center of the block on the paper template. Then spin the fabric block until it is lined up on the paper block. On my template, I shaded the hourglass block as a reminder.
Now you can apply the remaining pieces to the foundation templates as you normally would, then assemble the individual parts. Be careful about the final assembly, as the corners on the hourglass blocks should touch when you are done.
See our finished blocks.
See instructions for Farmer's Wife - Week 4
No comments:
Post a Comment