 |
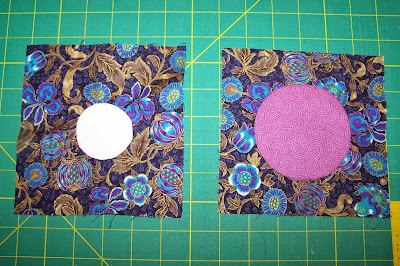
| Pieced circle block - first and second attempts |
So I watched the video again and realized that I missed a few points. I also ended up making the circle bigger the second time (on the right in the picture), but I don't think that made a difference in my success. The first thing I forgot was using the glue on the ironed down snipped edges of the circle. I had remembered using the glue as the temporary adhesive for the two pieces. The second thing I forgot was to use a zipper foot to sew the seam; it made all the difference.
Having a hard ironing surface is a must, too; they mentioned that in the video. My small table-top ironing board that I use for crafting has only the slightest bit of foam and I'm considering removing it to help with getting even crisper creases; that crease is critical to the success of this process.
One tool I have that will be useful for this block is the Circle Scissor because it will make almost any size circle, either using a pencil or using a cutting tip.
I'm so pleased that I found this technique. My next quilt is going to have a circle theme, so I'm glad I tried it out.
No comments:
Post a Comment